


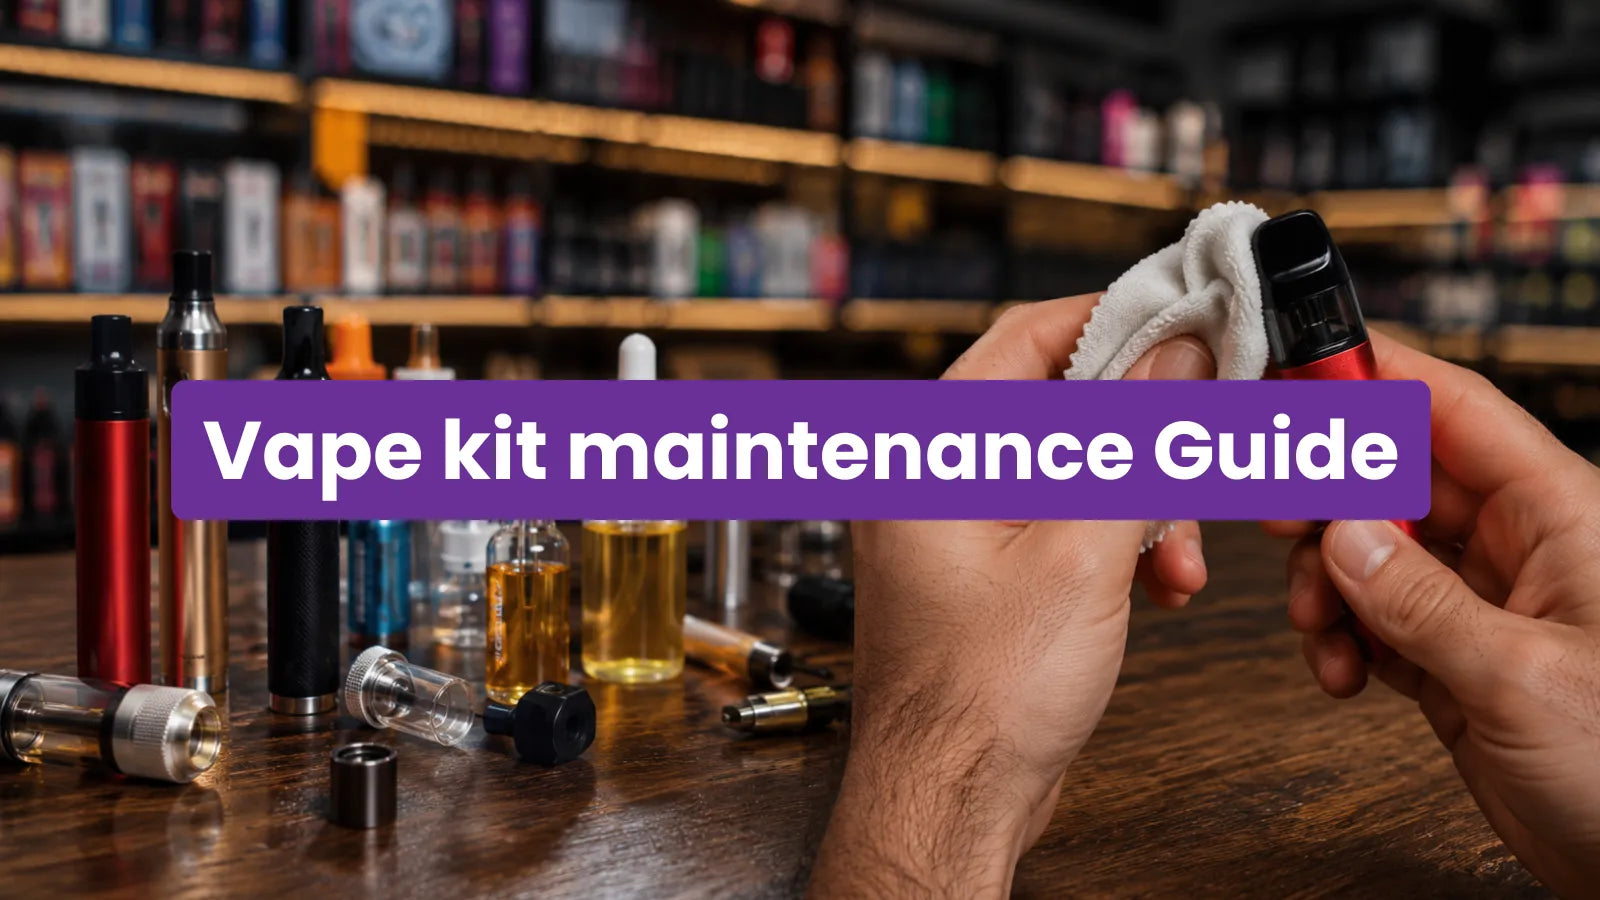
Vape kit maintenance is the routine care that keeps a rechargeable device performing and protects the parts you pay to replace. Every puff pulls e-liquid through the coil, wick, and airflow channels, so residue gathers over time and dulls both flavour and vapour. Left unchecked, that build-up shortens coil life, encourages leaks, and weakens the battery connection. This guide sets out the complete routine for pod kits, starter kits, and sub-ohm setups, cleaning each component, priming and changing coils, caring for batteries, and reading the signs of trouble early. Rechargeable, refillable kits became the UK standard after single-use disposables were banned on 1 June 2025, each one paired with TPD-compliant e-liquid in 10ml bottles up to 20mg/ml. Most tasks take under five minutes and need only household items, and every device in our range of vape kits responds to the same core habits.
What is Vape Kit Maintenance?
Vape kit maintenance is the regular cleaning, coil care, and battery upkeep that keeps a device delivering consistent flavour and vapour. The routine covers three parts of every kit: the tank or pod that holds e-liquid, the coil that heats it, and the battery that powers the process.
Cleaning clears residue, coil care manages the fastest-wearing component, and battery care protects runtime and safety. Knowing your vape kit parts explained makes each task quicker, because you handle the same components at every service.
Why Does Vape Kit Maintenance Matter?
Regular vape kit maintenance matters because it protects performance, flavour, and the money you spend on coils and pods. 6 benefits make the routine worth the few minutes it takes:
- Prevents residue from clogging the tank and airflow ports.
- Protects flavour by stopping stale liquid from tainting a fresh fill.
- Extends coil life, the fastest-wearing and most-replaced part of any kit.
- Reduces leaks caused by residue on seals and connections.
- Maintains a clean battery contact for a reliable power draw.
- Lowers running costs by making coils, pods, and tanks last longer.
These habits reinforce each other: a clean tank protects a fresh coil, and a fresh coil protects flavour, so one task supports the next.
What Do You Need to Clean a Vape Kit?
You need six household items to clean a vape kit at home. Gather these before you start:
- Warm water: never boiling, which warps seals and O-rings.
- Cotton buds: for airflow ports, connections, and mouthpieces.
- Kitchen roll or a lint-free cloth: for drying components.
- A small bowl: to soak non-coil parts.
- Isopropyl alcohol (optional): 90% or above for a deeper clean on metal and glass.
- A soft brush or toothpick: for stubborn residue in tight spots.
Avoid using washing-up liquid inside the tank, since soap is hard to rinse fully and leaves a soapy taste on your next fill.
How to Clean a Vape Kit
A vape kit cleans in three parts: the tank or pod, the mod or battery section, and the connections between them. Each part needs a different method, because water suits glass and metal but never touches the battery. Work through the section that matches your device.
How to Clean a Vape Tank
To clean a vape tank, strip it into parts and wash every section except the coil. Follow these five steps:
- Disassemble the tank fully: separate the glass, base, mouthpiece, and coil, then set the coil aside.
- Empty the leftover e-liquid and rinse the parts under warm running water.
- Soak the non-coil parts in warm water for 10 to 15 minutes, then rinse again.
- Dry each part with kitchen roll and leave them to air-dry for 30 to 60 minutes.
- Reassemble the tank, fit a fresh or primed coil, and refill with TPD-compliant e-liquid.
Trapped moisture causes gurgling and weak vapour, so confirm every part is dry before it meets the coil.
How to Clean a Pod Kit
To clean a pod kit, wipe the contact points dry and rinse only refillable pods. Pod kits use a sealed or magnetic connection, so the method depends on the pod type:
- Remove the pod and wipe both connection points with a dry cotton bud.
- Rinse a refillable pod under warm water, shake out the excess, and air-dry it before refilling.
- Leave a prefilled or replaceable pod unrinsed, and swap it once the flavour fades.
- Clear the mouthpiece and magnetic contacts of residue for a reliable connection.
A deeper routine for open-system pods sits in our guide on how to clean vape pods, and every compatible device lives in our range of pod kits.
How to Clean the Mod or Battery Section
To clean the mod or battery section, use a dry cotton bud only and never submerge the body in water. E-liquid seeps into the 510 thread or the pod bay and disrupts the connection:
- Wipe the 510 thread or pod bay with a dry cotton bud to lift pooled e-liquid.
- Treat stubborn residue with a cotton bud lightly dampened in isopropyl alcohol.
- Clean the exterior with a barely damp cloth, then dry it at once.
- Check the battery contacts and clear any discolouration with a dry bud.
Moisture reaching the battery risks a short circuit, so keep every damp item away from the body even when a device claims water resistance.
How to Prime a New Vape Coil
To prime a new vape coil, wet the wicking holes with e-liquid and let it soak before the first draw. Priming stops the dry, burnt draw that ruins a fresh coil in seconds:
- Fit the coil into the tank or pod so it grips firmly.
- Drip e-liquid onto each wicking hole until the cotton stops absorbing.
- Add a drop to the centre wick for full saturation.
- Fill the tank and rest the kit for 10 minutes.
- Take 3 to 5 short draws with the airflow fully open and the button unpressed.
A primed coil lasts longer and tastes cleaner from the first puff, and our step-by-step guide on how to prime a vape coil covers every tank type.
When Should You Replace a Vape Coil?
Replace a vape coil every 1 to 2 weeks, or sooner once flavour turns muted or a burnt taste appears. A coil is the fastest-wearing part of any kit, and no amount of cleaning restores a spent one. Four signs point to a coil at the end of its life:
- A burnt or harsh taste on the draw, even with e-liquid in the tank.
- Muted or muddy flavour that no longer matches the fill.
- Reduced vapour despite a full charge and a full pod.
- A gurgling or spitting sound from a flooded, worn coil.
Sweet, dessert-style e-liquids shorten this window, because sugars caramelise on the wick faster than fruit or menthol blends. Read what wears a coil down in our guide to vape coil lifespan, then follow the steps to replace a vape coil.
How to Maintain Vape Kit Batteries
Maintain vape kit batteries by charging with the correct cable, unplugging at full charge, and storing them safely. Battery care protects both runtime and safety across every kit type:
- Charge with the cable and adapter rated for your device, using a USB-C port where fitted.
- Unplug the device the moment it reaches full charge, since overcharging drops overall battery capacity.
- Charge internal battery pairs together so both cells wear at the same rate.
- Store loose 18650 or 21700 cells in a case, away from keys and coins.
- Keep charging on a hard, non-flammable surface within sight.
Runtime and charging habits vary by cell, so our guide to vape chargers explains safe charging, and our range of vape batteries covers replacements for external-battery kits.
How Often Should You Clean a Vape Kit?
Clean a vape kit every time you change flavour, and deep-clean it every 1 to 2 weeks. Heavy or sweet vaping calls for more frequent cleaning. The right interval depends on the task and how hard you vape:
| Task | Frequency | Reason |
|---|---|---|
| Quick wipe of exterior and contacts | Every 2 to 3 days | Stops sticky build-up before it spreads |
| Rinse the tank or refillable pod | Every flavour change | Prevents flavour carry-over from the last fill |
| Full deep clean | Every 1 to 2 weeks | Clears residue from glass, base, and airflow |
| Coil check and likely replacement | Every 1 to 2 weeks | Protects flavour and vapour output |
Dessert and sweet menthol blends clog coils and tanks faster, so shorten each interval if your flavours run heavy on sugar.
What Are the Signs a Vape Kit Needs Cleaning?
A vape kit needs cleaning when flavour, vapour, or the draw noticeably drops. Six signs point to residue build-up or a spent coil:
- A stale, muted, or off taste on every draw.
- A gurgling or bubbling sound as you inhale.
- Reduced vapour from a full charge and a full pod.
- Leaking from the base or the mouthpiece.
- A sticky or discoloured body around the connections.
- A weak connection where the device fails to read the coil.
Cleaning fixes most of these, though a persistent burnt note usually means a spent coil, covered in our guide on why vape pods taste burnt. Recurring leaks after a clean point to a seating or seal fault, explained in why is my vape pod leaking.
FAQs About Vape Kit Maintenance
Yes, you can clean metal and glass tank parts with isopropyl alcohol at 90% or above. Alcohol cuts through sticky e-liquid residue and evaporates cleanly, which suits a deeper clean. Keep it off rubber O-rings and seals, where it degrades the material over time. Rinse with warm water afterwards and dry every part fully before reassembly.
Stop a vape leaking after cleaning by drying every part fully and seating the coil and seals correctly. Trapped water thins e-liquid and escapes through the airflow, while a loose coil or twisted O-ring breaks the seal. Reassemble only once parts are completely dry, hand-tighten each joint, and avoid overfilling past the fill line.
A vape needs 30 to 60 minutes to dry after a rinse, and up to 24 hours for a coil. Air-drying clears moisture from the tank, base, and airflow ports that would otherwise cause gurgling or a short circuit. Confirm every surface is dry before you fit the coil and refill with e-liquid.
No, a burnt or heavily gunked vape coil cannot be restored to new condition. Rinsing lifts loose residue and delays replacement slightly, but the cotton and mesh degrade permanently with heat. Dry a rinsed coil for 24 hours before reuse, and replace it outright if a burnt taste remains. Fresh replacement pods and coils restore flavour instantly.
Replace a vape coil every 1 to 2 weeks for a moderate vaper, or every few days for heavy or sweet-liquid use. Coil life depends on wattage, e-liquid type, and how often you vape. Sugary dessert blends caramelise on the wick and cut that window short, so track flavour quality as your cue.


