


What is DIY vape juice?
DIY vape juice is self-mixed e-liquid made at home from raw vaping ingredients rather than bought pre-filled. Home mixers combine a propylene glycol and vegetable glycerine base with nicotine shots and flavour concentrate to reach a chosen strength and taste.
The finished e-liquid matches the same 50/50 e-liquids and high-VG profiles sold in shops, produced for a lower cost per bottle. Adult smokers switching to vaping choose DIY e-liquid for flavour freedom and long-term savings. Ready-made e-liquids remain the faster route for vapers who prefer no mixing at all.
What ingredients do you need to make vape juice?
Making vape juice needs four ingredients, propylene glycol (PG), vegetable glycerine (VG), nicotine and flavour concentrate. Each ingredient controls a different part of the final e-liquid, throat hit, vapour, strength and taste. UK law caps nicotine at 20mg/ml and sells it in 10ml bottles, so measure it carefully.
Propylene glycol (PG)
Propylene glycol is the thin, flavour-carrying base liquid in every e-liquid mix. PG delivers a firmer throat hit and holds flavour clearly, which makes it the carrier for most concentrates. Mixers pair PG with VG at ratios such as 50/50 or 30/70 depending on the device. Higher PG suits mouth-to-lung pod kits and starter kits.
Vegetable glycerine (VG)
Vegetable glycerine is the thick, sweeter base liquid that produces vapour. VG creates denser clouds and a smoother inhale, with a faint natural sweetness of its own. High-VG blends near 30/70 wick best in sub-ohm kits at higher wattage. Our guide to high VG e-liquids covers the full breakdown.
Nicotine shots
Nicotine shots are 10ml bottles of unflavoured nicotine used to set the strength of an e-liquid base. UK nicotine shots hold 18mg/ml or 20mg/ml in two forms, freebase and nic salt. Freebase suits users wanting a sharper hit, while nic salt e-liquids stay smoother at higher strengths for ex-smokers. Shop UK-compliant nicotine shots in both formats before you mix.
Flavour concentrate
Flavour concentrate is the undiluted flavouring that gives DIY e-liquid its taste, added at 5% to 20% of the total mix. Concentrates cover fruit, dessert, menthol and tobacco profiles, and many blend together into custom recipes. Lower percentages near 5% give a subtle taste, while 15% to 20% marks the upper limit for most flavours.
What equipment do you need for DIY e-liquid?
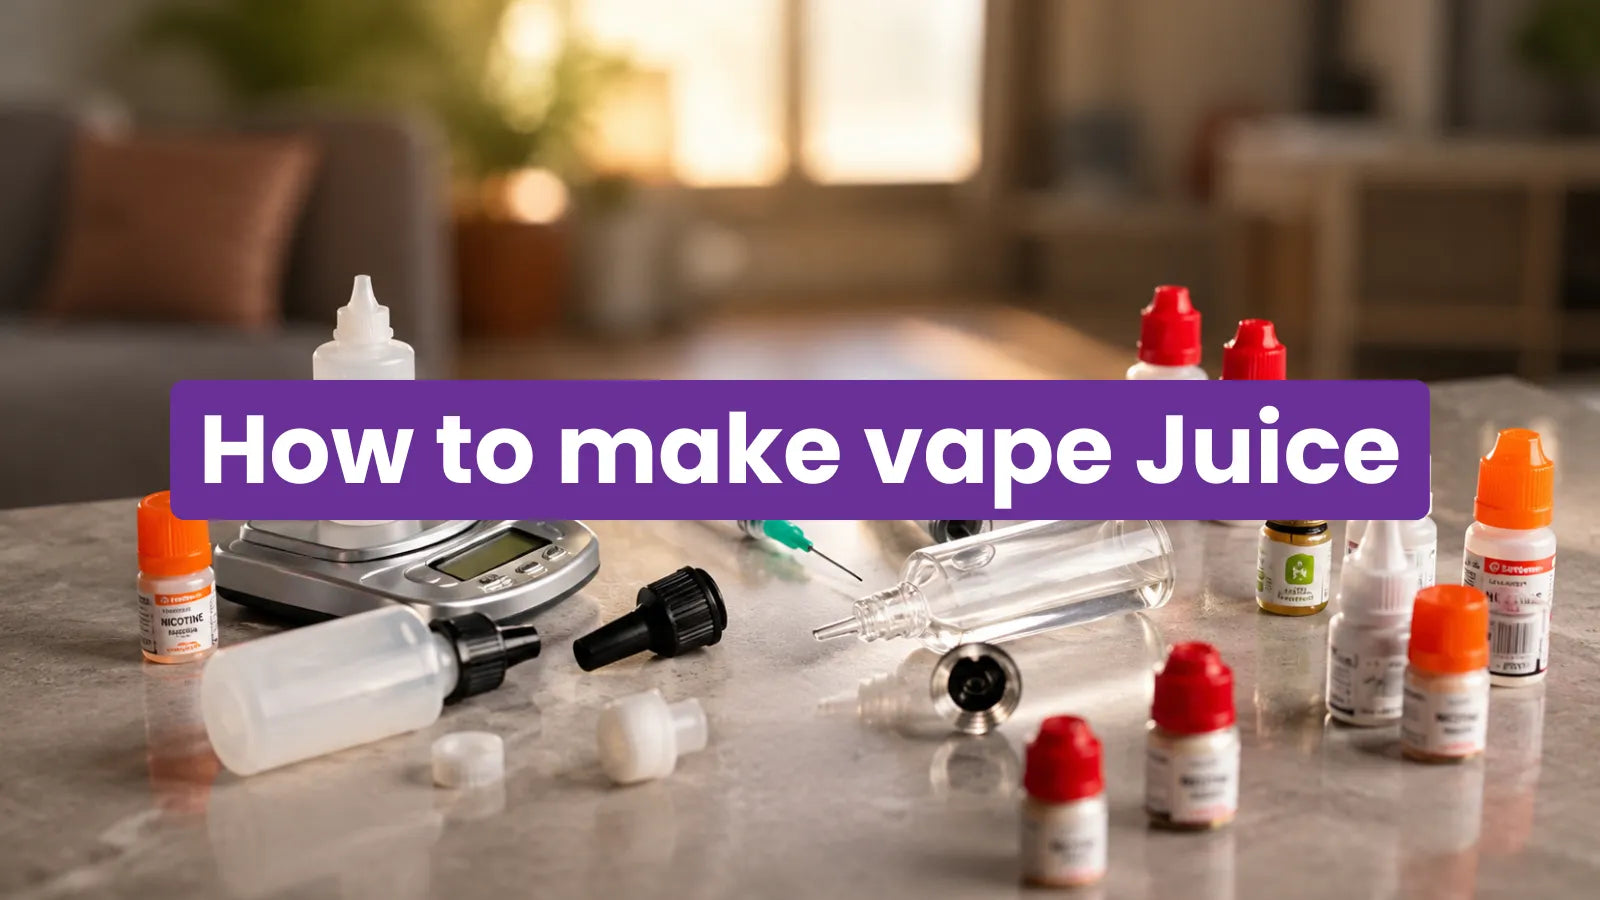
DIY e-liquid mixing needs six pieces of equipment for accurate, safe results. Each tool supports one stage of the process, measuring, mixing, storing or recording. Beginners cover every stage with an inexpensive starter set.
Mixing bottles
10ml bottles for test batches, 50ml and 100ml bottles for finished stock.
Syringes or pipettes
Separate ones for base, nicotine and flavour to stop cross-contamination.
Digital scale
0.01g precision for mixing by weight rather than by volume.
Nitrile gloves
Protect skin from nicotine and flavour concentrate spills.
Labels
Record ratio, strength, flavour and mix date on every bottle.
E-liquid calculator
Convert your recipe into exact millilitre or gram amounts.
How to make vape juice safely
Nicotine is a toxic substance that absorbs through skin, so safe handling comes before mixing. Six rules protect you and the people around you during every batch.
Six safety rules for every batch
- Wear nitrile gloves and eye protection: nicotine and concentrates irritate skin and eyes.
- Mix in a ventilated space: open a window or run a fan to clear vapours.
- Store nicotine in a locked, dark place: keep every bottle away from children and pets.
- Label each bottle clearly: mark strength, ratio and date to prevent mistakes.
- Stay within UK limits: buy nicotine only in 10ml bottles at a maximum of 20mg/ml.
- Clean tools after use: rinse syringes and wipe surfaces to prevent contamination.
Vaping is less harmful than smoking but not risk-free, according to the NHS. Adults mixing nicotine take extra care with dosage and storage.
How to make vape juice in 7 steps
Making vape juice follows seven steps from gathering supplies to steeping the finished bottle. The process moves in order, prepare, measure, mix the base, flavour, add nicotine, bottle, then steep. Each step below builds on the last for a balanced, ready-to-vape e-liquid.
Gather your equipment and ingredients
Collect your bottles, syringes, scale, gloves and labels alongside your PG, VG, nicotine shots and flavour concentrate. Confirm each ingredient sits within UK limits before starting. Clear a clean, flat surface with good light and airflow.
Calculate your measurements
Enter your target strength, bottle size and PG/VG ratio into an e-liquid calculator to get exact amounts. The calculator converts your recipe into millilitres for mixing by volume or grams for mixing by weight. Mixing by weight suits batches under 100ml because a 0.01g scale reads more accurately than a syringe. Mixing by volume suits beginners who prefer measuring in millilitres.
Mix your PG and VG base
Draw the calculated PG and VG amounts with separate syringes and add both to your mixing bottle. Keep one syringe for PG and one for VG to stop cross-contamination. Rinse each syringe straight after use.
Add your flavour concentrate
Measure your flavour concentrate at 5% to 20% of the total volume and add it to the base. Start near 10% for a balanced result, then adjust future batches to taste. Single-flavour test bottles show how each concentrate performs before you commit to a large mix.
Add your nicotine shots
Add your nicotine shots last for the most control over final strength. One 10ml shot of 18mg/ml nicotine added to 50ml of base makes 60ml at 3mg/ml. Sharper throat hits come from freebase nicotine e-liquids, while nic salt shots stay smoother at the same strength.
Bottle and shake your mixture
Transfer the finished mix from your beaker into storage bottles with a clean syringe. Seal each bottle and shake it hard for one to two minutes to blend the ingredients fully. Splitting one batch across several bottles keeps every bottle at the same consistency.
Steep your e-liquid
Store the sealed bottles in a cool, dark cupboard for four to five days so the flavours settle. Steeping deepens flavour as the concentrate blends evenly through the base. Simple fruit mixes steep in a day or two, while dessert and tobacco blends reach their best after two to four weeks.
Your homemade e-liquid is ready to vape once steeped, matched to your chosen device and ratio. Test each batch in a suitable kit, note what works, and refine the recipe next time.
What is the best PG/VG ratio for vape juice?
The best PG/VG ratio depends on your device and the draw you want. Two ratios cover most DIY e-liquid, 50/50 for mouth-to-lung devices and 30/70 for direct-to-lung clouds. Each ratio shifts the balance between throat hit, vapour and flavour clarity.
| Ratio (PG/VG) | Vaping style | Suited device |
|---|---|---|
| 50/50 | Tighter MTL draw, stronger flavour and throat hit | Pod kits and starter kits |
| 30/70 | Airier DTL draw, bigger clouds, smoother inhale | Sub-ohm kits at higher wattage |
50/50 e-liquid wicks best in refillable pod kits and low-wattage devices, matching a tighter cigarette-style draw. High-VG blends near 30/70 suit sub-ohm kits that run at higher wattage for denser vapour. Our VG/PG ratio guide explains how each ratio affects coils and flavour in more detail.
What are the benefits of making your own vape juice?
Making your own vape juice brings four main benefits, lower cost, full flavour control, adjustable nicotine strength and larger batch sizes. Home mixing removes the retail mark-up, so each millilitre costs less than a pre-filled bottle. Adult vapers switching from smoking gain a setup they can fine-tune over time.
- Lower cost per millilitre: bulk PG, VG and nicotine cost less than ready-made bottles.
- Full flavour control: blend fruit, dessert and menthol concentrates into custom recipes.
- Adjustable nicotine strength: set any level up to the UK 20mg/ml cap.
- Larger batches: mix 100ml or more in one session for weeks of supply.
Vapers who prefer ready-made options top up shortfill e-liquids with a nicotine shot for a faster, near-DIY result.
Frequently asked questions
Yes, making your own vape juice is legal in the UK for personal use. Home mixers buy nicotine in 10ml bottles at a maximum of 20mg/ml, plus unrestricted PG, VG and flavour concentrate. Selling homemade e-liquid needs MHRA notification and full TRPR compliance, so DIY stays limited to personal supply.
Yes, making your own vape juice is cheaper per millilitre than buying pre-filled bottles. Bulk PG, VG and nicotine shots spread across many batches lower the cost of each bottle. Upfront spending on a scale, syringes and concentrate pays back once you mix regular batches.
Yes, you can make vape juice without nicotine by mixing only PG, VG and flavour concentrate. Nicotine-free e-liquid suits vapers who have stepped down their strength or prefer flavour alone. Skipping nicotine removes the toxic-handling risk, so nicotine-free mixing needs less protective equipment.
Homemade e-liquid lasts one to two years when stored correctly. Cool, dark storage away from sunlight and heat keeps the flavour and nicotine stable for longest. Nicotine strength fades slowly over time, so labelling the mix date tracks each bottle's age.
The best PG/VG ratio for beginners is 50/50, matched to pod kits and starter kits. A 50/50 blend wicks easily, delivers a clear throat hit and works in most low-wattage devices. Beginners moving to sub-ohm kits later step up to a higher-VG 30/70 blend.
Vaping products are for adult smokers and vapers aged 18 and over. Nicotine e-liquid sold in the UK meets TRPR limits of 20mg/ml maximum strength and 10ml maximum bottle size, and Royal Vapery runs age verification at checkout.


