


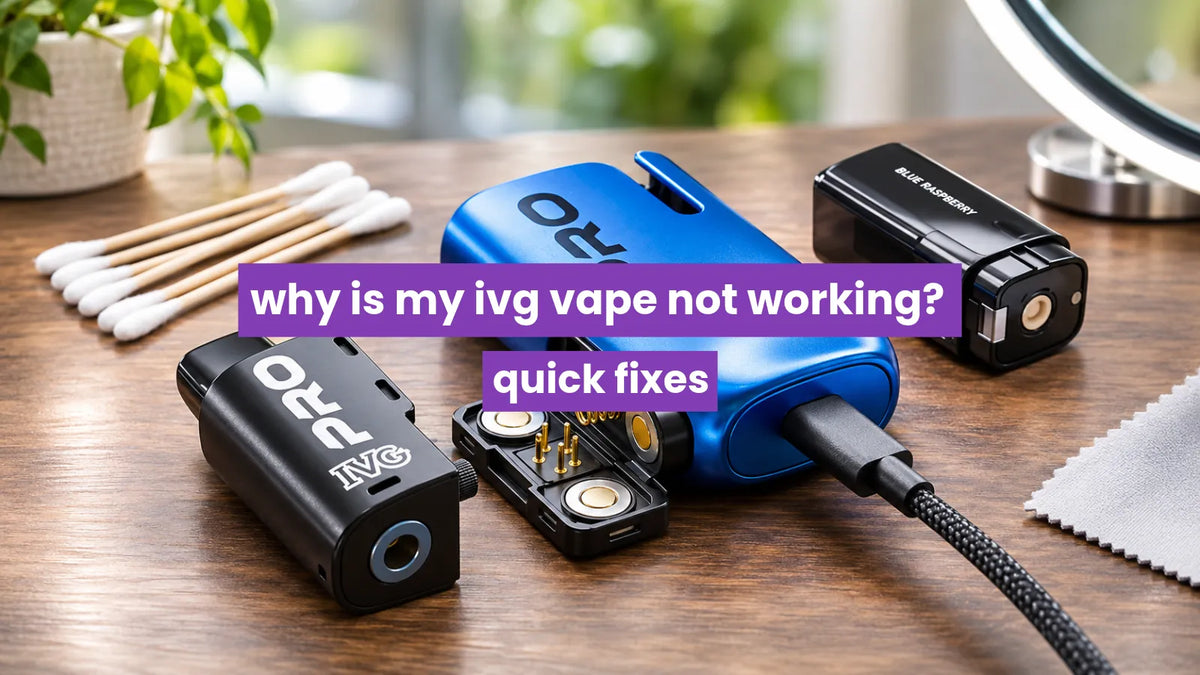
Your IVG vape may stop working because of a low battery, an incorrectly fitted pod, leftover packaging seals or an empty pod. Check the charge, remove the setup seals and refit the correct pod before assuming the device has failed.
The next step depends on the symptom. No vapour calls for a battery and pod check. A persistent burnt taste calls for a replacement pod. Flashing lights or screen alerts need the instructions for your exact model.
Across the IVG range pod assemblies and controls vary. Identify your kit before following a setup or charging guide.
What should you check first?
Start with these 6 checks on an undamaged device:
- Identify the model. Read the name on the device, box or instructions.
- Check the battery. Look at the display or charging indicator, where fitted.
- Remove setup seals. Check for mouthpiece plugs, rubber stoppers and protective stickers shown in the instructions.
- Check the pod assembly. Join the components in the correct orientation and seat the assembly fully.
- Wipe accessible contacts. Remove the pod and use a dry, lint-free cloth on the contact surfaces.
- Check the remaining liquid. Replace an empty pod with a compatible one.
Stop troubleshooting if the device is damaged, unusually hot or leaking into its charging port. Do not connect a charger to a wet port.
Which IVG vape do you have?
The pod format determines which setup checks apply. Use this table to choose your next step rather than comparing battery capacities or advertised puff counts.
| IVG model | Setup check | Replacement pod check |
|---|---|---|
| Pro 12 / PRO | Join the 2ml pod and 10ml refill container before insertion | Use the specified IVG PRO pod pack |
| Pro 2 | Check the pod assembly and seating | Original PRO 12 pods are compatible |
| Smart Max | Remove the seals and click its pod and refill container together | Use Smart Max pods |
| Rechargeable 2400 | Fit the four pods in the instructed orientation and align the selected flavour | Use the specified 2400 replacement pods |
| XL35 / XL 35K | Assemble the two refill containers and pod base correctly | Use the specified XL35 pod pack |
IVG’s PRO instructions confirm the joined pod format and compatibility with PRO and PRO 2 devices. A pod that looks similar is not enough to establish compatibility.
Why is my IVG vape not hitting?
An IVG vape that produces no vapour needs a charge, connection and liquid check. A working display does not prove the pod is heating correctly.
Remove the pod and inspect the setup seals. Check the mouthpiece and visible air inlets for packaging or debris, then refit the pod according to the manual. Keep your fingers clear of the air inlets when drawing.
Try a fresh compatible pod if the current one is empty or still fails after refitting. A second pod can help distinguish a pod problem from a device problem, but continued failure needs support rather than repeated attempts to fire it.
Avoid blowing liquid through the mouthpiece into the device. Wipe accessible condensation instead.
Why is my IVG vape flashing?
A flashing IVG vape can indicate a low battery, a connection fault or a protection alert. The meaning depends on the model and the displayed code.
For IVG PRO models covered by the manufacturer’s support table:
| Screen alert | Meaning | Next step |
|---|---|---|
| LO | Low battery | Recharge as instructed |
| H1, H2 or H3 | Overheating | Stop and allow the device to rest; seek support if repeated |
| E1 | Coil or device damage | Try a new compatible pod; seek support if the alert continues |
| E2 | Pod connection error | Clean the connection surfaces and refit the pod |
These codes do not provide a universal guide for every IVG device. Check your manual before interpreting a blinking light, including a light seen during charging.
Why does my IVG vape taste burnt?
A burnt taste can mean the pod is empty or its wick not absorbing enough e-liquid. Stop using a pod that continues to taste burnt.
Check the liquid supply and confirm the refill assembly is correctly joined. Pause between draws instead of taking repeated long puffs. Replace the pod if the burnt taste persists; charging the battery cannot repair a scorched wick.
Do not apply a universal 60-second priming rule to every IVG kit. Follow the enclosed setup instructions. IVG’s PRO quick-start guide describes removing the seals, connecting the components and inserting the pod without specifying that waiting period.
For the difference between preparing refillable pods and fitting sealed prefilled packs, read our guide on how to prime vape pods.
Why is my IVG vape not charging?
An IVG vape that does not charge needs a cable, power-source and port check. No charging response alone does not establish that the battery has failed.
Follow these steps:
- Disconnect the cable and inspect the device for damage or leakage.
- Check the port opening for visible contamination without inserting sharp objects.
- Try another undamaged cable of the type specified for the device.
- Use a suitable power source that meets the charging instructions.
- Observe the indicator and disconnect once charging is complete.
Charging time depends on the model, remaining charge and power supply. Avoid treating 30 minutes as a guaranteed recovery time or 45 minutes as a universal full charge.
A laptop USB port is not automatically the cause of a charging fault. Use the device’s stated charging requirements to assess the power source.
Why is my IVG vape leaking?
Liquid around the pod may be condensation or a leak. A light film differs from a cracked pod or liquid repeatedly pooling inside the device.
Remove the pod and wipe accessible surfaces dry. Check for damage and incorrect assembly before refitting it. Store the kit away from heat and direct sunlight, and follow its recommended storage position.
Replace a damaged pod rather than trying to reseal it. Stop using the device if leakage reaches the charging port or continues inside the housing.
Our guide explains more about why vape pods leak and which maintenance checks are appropriate.
Why is my IVG Pro 12 not working with a new pod?
A new Pro 12 pod may fail because a seal remains fitted or the pod and refill container are not fully connected.
Remove the assembly and follow the packaging instructions. IVG’s PRO guide specifies joining the 2ml pod to the 10ml refill container until the components click, then inserting the completed assembly into the device.
Use compatible IVG Pro 12 pods, do not force a different pod format into the housing.
Why is my IVG Smart Max not working?
A Smart Max that produces no vapour needs a battery and pod-assembly check.
Remove the rubber stoppers from its 2ml pod and 10ml refill container. Join the components until they click, then insert the connected pack into the device. Check the battery level before trying again.
Choose the correct IVG Smart Max pods, PRO and Smart Max packs are separate systems.
Why is my IVG 2400 not Working on one flavour?
One flavour failing while another works points towards the selected pod or flavour alignment rather than a completely dead battery.
Check the four pods are fitted in the orientation shown in the instructions. Align the flavour selector correctly and try another pod position. Replace an exhausted pod with the specified compatible replacement.
The rechargeable 2400 has USB-C charging. Check the actual device before attempting to charge an older version, and never modify a device to add charging access. Our IVG 2400 review explains the four-pod format.
What if my IVG pod is stuck or will not fit?
A pod that will not fit needs an orientation and compatibility check. Excessive force can damage the housing or connections.
Check for leftover packaging and compare the pod with the device instructions. Follow the specified removal direction if a fitted pod is stuck. Avoid levering it out with a tool or pulling on a component that is meant to remain joined.
Contact the retailer if normal removal does not release it.
When should you contact Royal Vapery?
Contact Royal Vapery if a correctly assembled device still fails after appropriate charging and a compatible pod check, or if a new kit arrives faulty.
Provide your order number, model name, batch number and a description of the fault. Include a photo of any displayed error. Record a demonstration only when the device can be handled safely.
A device that remains unresponsive may have a battery, sensor, charging-port or internal connection fault. Home checks cannot confirm which component has failed. For wider diagnosis across other brands, use our vape troubleshooting guide.
IVG vape not working FAQs
Why is my IVG vape not working when it is charged?
A charged IVG vape can still have an empty, incorrectly fitted or faulty pod. Check compatibility, remove setup seals and reseat the assembly. Seek support if a fresh compatible pod does not resolve the problem.
How do I reset my IVG vape?
There is no single reset procedure for all IVG devices. Follow your model’s instructions. Removing and refitting a pod checks its connection; it does not repair an internal fault.
Can you refill IVG prefilled pods?
IVG prefilled pods are designed for replacement when empty. Do not open a sealed pack to add bottled e-liquid.
Does the IVG Pro 2 take Pro 12 pods?
Yes, IVG confirms that original PRO 12 pods fit the PRO 2. Assemble and insert the pack according to the device instructions.
Why is one IVG XL35 container emptier than the other?
Uneven liquid levels alone do not confirm a fault. Check the assembly and the model’s instructions. Investigate further if uneven levels accompany no vapour, persistent dry hits or leakage; do not assume every feeding problem is normal.
How long should an IVG pod last?
Pod life varies with the pod format, draw length and frequency of use or depend on usage. Advertised puff counts do not guarantee a fixed number of days or weeks. Replace a depleted pod instead of continuing until the flavour tastes burnt.


