


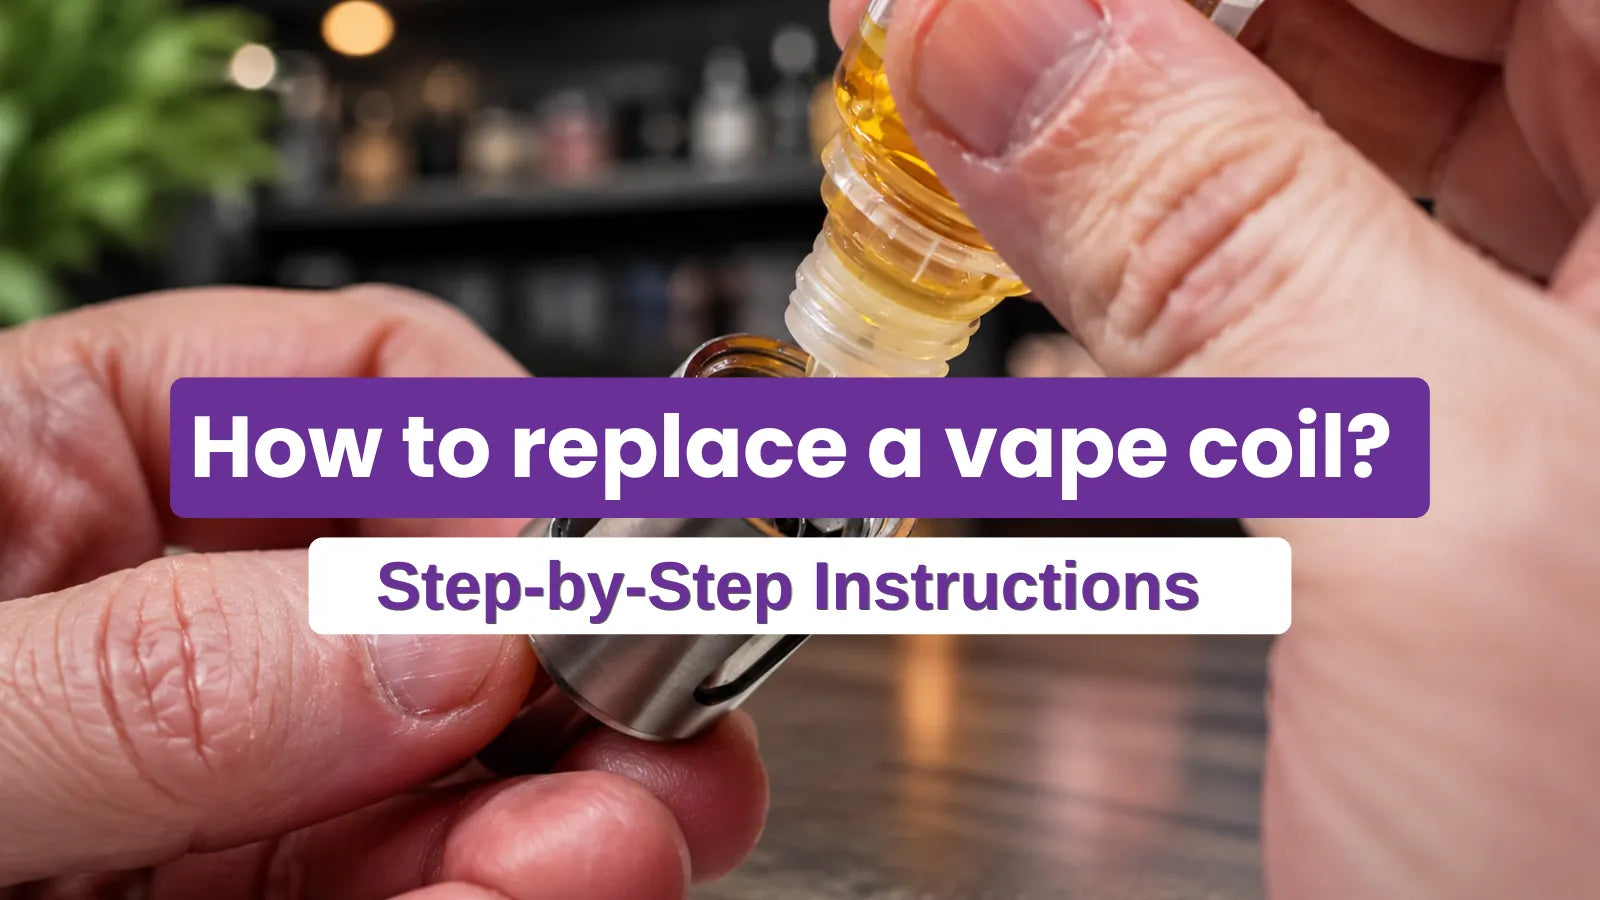
A vape coil is the heated element inside a tank or pod that turns e-liquid into vapour. Coil wire and the surrounding wick degrade with every puff, and a worn coil produces burnt flavour, weak vapour, and uneven nicotine delivery. Replacing a vape coil restores flavour clarity, vapour density, and consistent draw.
The 7-step procedure below applies to refillable tank kits and refillable pod kits with removable coils. Prefilled pod systems use sealed pods instead, the whole pod is replaced rather than the coil itself. Read the complete guide to vape coils for a wider overview of coil types, materials, and resistance ratings.
Signs Your Vape Coil Needs Replacing
Most coils last 7 to 14 days for moderate UK vapers. Heavy users replace coils every 4 to 7 days, and light users stretch a coil to 3 weeks.
Replace a vape coil when one of these signals appears:
- Burnt taste: the e-liquid develops an acrid, charred flavour even with the tank full
- Reduced vapour: clouds thin out despite a full charge and clear airflow
- Gurgling sound: the coil floods because the wick can no longer hold e-liquid
- Dry hits: the wick scorches even when liquid sits above the wicking ports
- Muted flavour: sweetness or fruit notes flatten and taste generic
- Dark e-liquid in the pod: caramelised residue from sweetened juice has saturated the wick
Sweetened nic salts and dessert flavours shorten coil life because sugars caramelise on the heating element. Read more on why vape coils burn out before assuming the coil is the only fault.
What You Need Before Replacing a Vape Coil
Gather these items on a clean, flat surface:
- A replacement coil of the correct model and resistance for your device
- The bottle of e-liquid you currently use
- Paper towel or a microfibre cloth
- Your device's user manual (only if it uses a non-standard fitting)
- Optional: a fresh empty pod if the coil is integrated rather than removable
Coil resistance must match the original spec on the side of the coil head. A 0.8Ω mesh coil cannot be swapped for a 0.6Ω coil without changing wattage and e-liquid ratio. For background on what the ohm value controls, see coil resistance explained.
How to Replace a Vape Coil in 7 Steps
Vape Coil Replacement Quick Reference
- Total time:
- 5 to 8 minutes
- Difficulty:
- Beginner
- Frequency:
- Every 7 to 14 days for most UK vapers
- Devices covered:
- Refillable tanks and refillable pods with removable coils
Empty the Tank or Pod
Empty the remaining e-liquid before opening the device. Pour leftover liquid back into its 10ml bottle if the flavour is still fresh, or discard it on a paper towel if it has darkened or thickened.
A near-empty tank prevents spills onto the battery contacts and stops e-liquid running down the threads. Wipe the outside of the tank or pod with a dry cloth.
Detach the Tank or Remove the Pod
Tanks unscrew anti-clockwise from the 510 connection on top of the mod. Pods lift straight off magnetic connectors with a firm pull.
Hold the device upright as you detach the component to keep residual liquid inside the chamber. Avoid yanking sideways on magnetic pods because the contacts can bend over time.
Remove the Old Coil
Coil fittings split into two designs: screw-fit and push-fit. Screw-fit coils unscrew anti-clockwise from the base of the tank, turn slowly to avoid stripping the threads.
Push-fit coils pull straight out of the pod or tank chamber with steady upward pressure. A used coil holds nicotine residue, so wrap it in tissue and dispose of it in general waste, coils are not recyclable through normal channels. Compare construction differences in mesh vs standard coils before ordering the next batch.
Inspect and Wipe the Coil Housing
Wipe the inside of the empty chamber with a folded piece of paper towel or a cotton bud. Residue, old e-liquid, and condensation collect at the base of the housing and will saturate a fresh wick the moment it touches them.
Check the silicone O-rings on tanks, a torn or displaced O-ring causes leaks straight away once the new coil is fitted. Replace damaged O-rings before continuing.
Prime the New Coil
Priming means saturating the cotton wick before installation. Drip 4 to 6 drops of e-liquid directly onto each wicking port visible on the side of the coil head.
Larger mesh coils need 6 to 8 drops. The cotton darkens as it absorbs liquid. Priming prevents the first puff from scorching the dry wick and protects against the burnt taste many vapers blame on a "faulty" new coil. For a deeper walkthrough, see how to prime a vape coil.
Fit the New Coil Correctly
Insert the primed coil into the chamber. Screw-fit coils tighten clockwise until they sit flush, finger-tight only, never forced with tools. Push-fit coils click or seat into a recess inside the pod.
A coil that is loose at the base will leak through the airflow holes within minutes. A cross-threaded screw-fit coil damages both the coil and the tank base, so realign and start again if the thread feels rough.
Refill and Rest Before Vaping
Refill the tank or pod with your e-liquid through its top-fill or side-fill port. UK-compliant tanks and pods hold a maximum of 2ml under TRPR rules, fill to the indicated line, not the rim. Leave the device upright for 5 to 10 minutes after refilling.
This rest period lets the wick fully saturate before the first puff and protects the coil from a dry burn. Take 3 to 4 gentle priming puffs without firing the device, then start vaping at the lower end of the coil's wattage range.
Replacing a Tank Coil vs a Pod Coil
The procedure splits at Step 3 depending on device type. Tank coils use screw-fit threads at the base of the tank and unscrew cleanly with no other disassembly. Pod coils either push-fit into the side of a refillable pod or come pre-built into a sealed pod that must be replaced whole.
| Feature | Refillable Tank Coil | Removable Pod Coil | Built-in Pod Coil |
|---|---|---|---|
| Fitting type | Screw-fit | Push-fit | Sealed unit |
| Replacement method | Unscrew and replace coil only | Pull out and replace coil only | Replace entire pod |
| Priming required | Yes | Yes | Limited: fill and rest |
| Typical devices | Sub-ohm tanks, MTL tanks | Open-system pod kits | Prefilled and some refillable pods |
| Cost per replacement | £2 to £4 per coil | £2 to £4 per coil | £3 to £6 per pod |
Refillable pod kits give you the longest-term value because only the coil is replaced, not the whole pod. Sub-ohm tanks pair with high-VG shortfill e-liquids, while pod coils run best on 50/50 nic salt e-liquids. When the coil is built into the pod, replacement pods are the consumable to order, not loose coil heads.
Common Mistakes When Replacing a Vape Coil
These errors cause leaks, burnt taste, or coil failure within the first day:
- Skipping the priming step: a dry wick burns within the first 2 to 3 puffs
- Over-tightening screw-fit coils: damages the thread and traps air below the wick
- Refilling before fitting the coil: e-liquid spills into the airflow channel and floods the device
- Mixing coil resistances: running a 0.6Ω coil at a 1.0Ω coil's wattage scorches the wick
- Vaping immediately after refilling: the wick needs 5 to 10 minutes to absorb e-liquid
- Reusing a coil after a burnt hit: once the cotton is charred, flavour cannot recover
- Using high-VG shortfills in MTL pod coils: thick liquid cannot wick through high-resistance cotton
How Long Until a New Vape Coil Performs at Its Best
A new vape coil reaches full flavour after 8 to 12 puffs. The first few draws taste muted because the wick is still settling against the heating element and any residual cotton fibres are burning off.
Set the device to the lower end of the recommended wattage range for the first 2 to 3 minutes of use. Flavour clarity, vapour density, and throat hit stabilise once the coil has bedded in. Refillable pod kits with adjustable airflow benefit from a slightly tighter airflow setting during the bedding-in window.
FAQs
Replace a vape coil every 7 to 14 days for moderate use. Heavy vapers using a device throughout the working day replace coils every 4 to 7 days. Light or social vapers stretch a single coil to 2 or 3 weeks. The signal to replace is burnt flavour, gurgling, or reduced vapour, not a fixed calendar date. Sweetened e-liquids shorten coil life significantly.
Cleaning a vape coil extends life by 1 to 2 days, not weeks. Rinsing the coil under warm water and drying it removes some e-liquid residue, but the cotton wick remains saturated and the heating wire stays oxidised. Performance recovers briefly before returning to a burnt taste. Replacement remains the only fix for a worn coil.
A new vape coil tastes burnt because the wick was fired before it absorbed e-liquid. Priming with 4 to 6 drops directly on the wicking ports and resting the device for 5 to 10 minutes after refilling solves this. Once a wick burns dry, the charred cotton cannot be recovered, the coil must be replaced.
Start at the lower end of the coil's recommended wattage range for the first 2 to 3 minutes. The wattage range is printed on the side of the coil head. Sub-ohm mesh coils typically start at 25W to 30W, MTL pod coils at 10W to 14W. Increase gradually once flavour develops fully.
No, vape coils are device-specific and brand-specific. A Vaporesso GTX coil does not fit an OXVA Xlim pod, and an Aspire BVC coil does not fit a Voopoo PnP tank. Coils share three identifiers that must match: brand, coil family, and resistance value. Confirm all three before ordering replacements.
No, prefilled pod kits use sealed pods with built-in coils. The entire pod is replaced as one unit rather than swapping the coil head. Refillable pod kits, including most open-system devices, allow coil-only replacement and lower the long-term running cost.
Read the side of the current coil head. The brand name, coil series (for example, GTX, PnP, Xros Corex), and resistance value (printed as 0.6Ω, 0.8Ω, 1.0Ω) are listed there. Order a replacement with all three matching identifiers. The user manual lists every compatible coil resistance for the device.


